
How to use the interface
Pages | Products | Duplicating a Page or Product | Shopify Sync
Pages
To edit a page, click on the Pages section and roll over the page you wish to edit to view its options [copy, edit, quick edit, view] (If you created a page you also have the option of chucking it in the bin). If you want to create a page, click on the ‘Add New Page’ link on the left, otherwise click on the page title, or ‘Edit’.
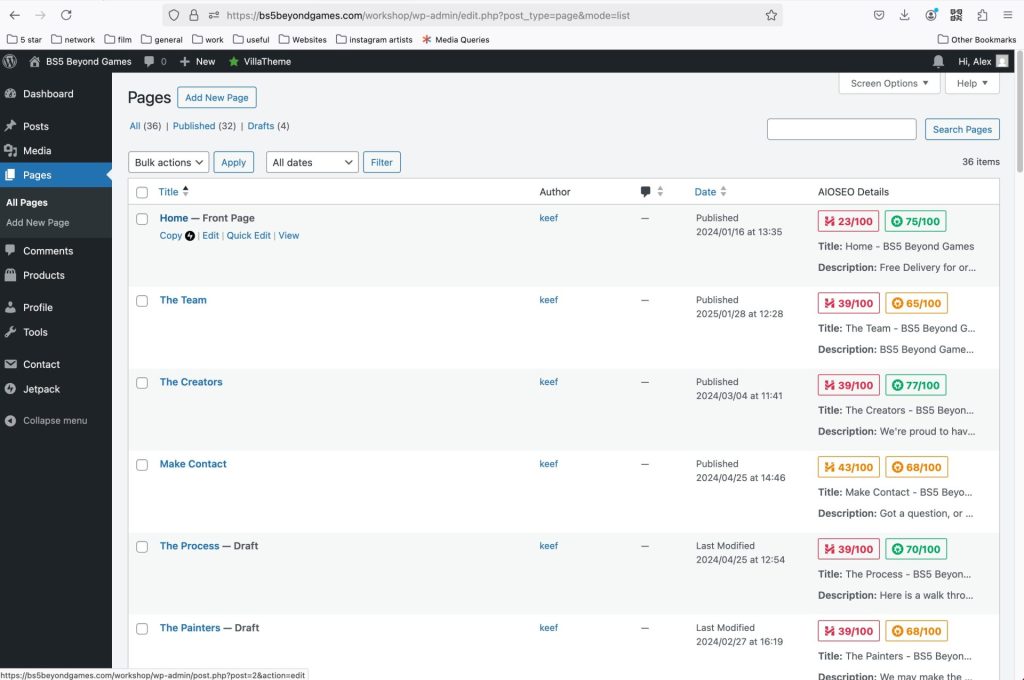
Pages are presented in the block editor version, which gives you a lot of possibilities for laying out a elements on a page.
Click on an element and its options will appear. Roll over the icons and a tooltip appears explaining what it’ll do. Here the button block is selected…
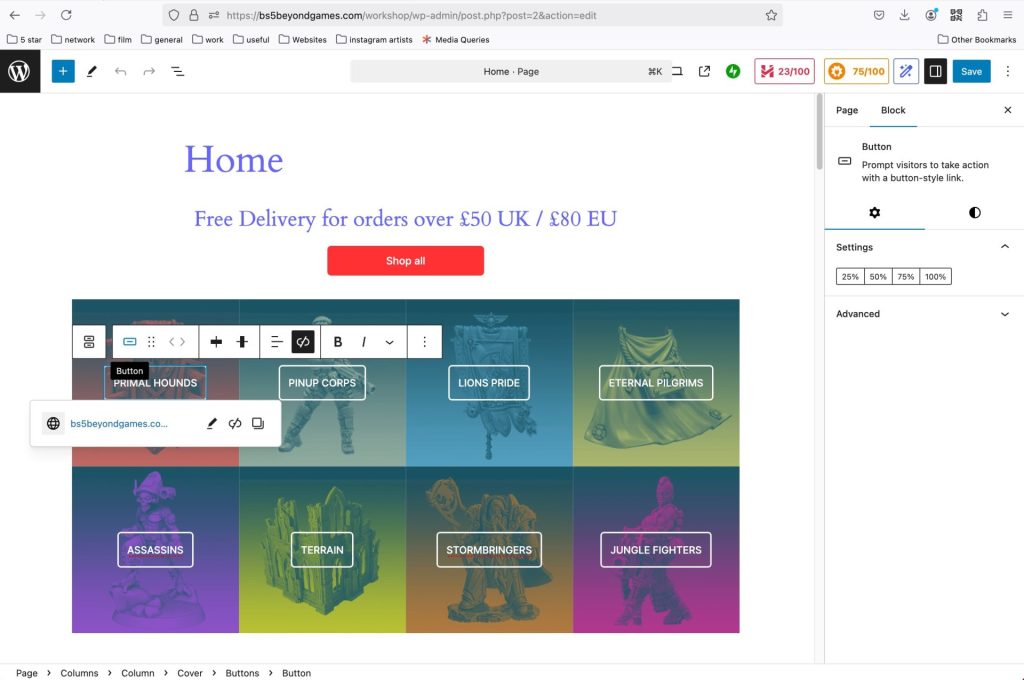
…On its left is another option and if you roll over it yu can see the option to select the button’s parent, ie the element the button is nestled in.
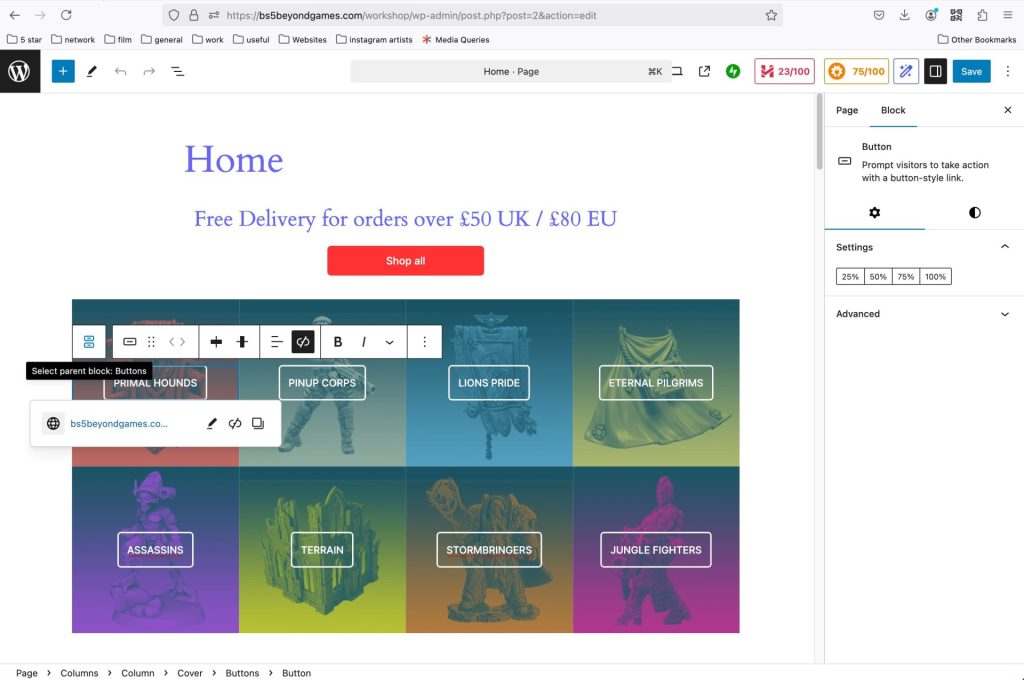
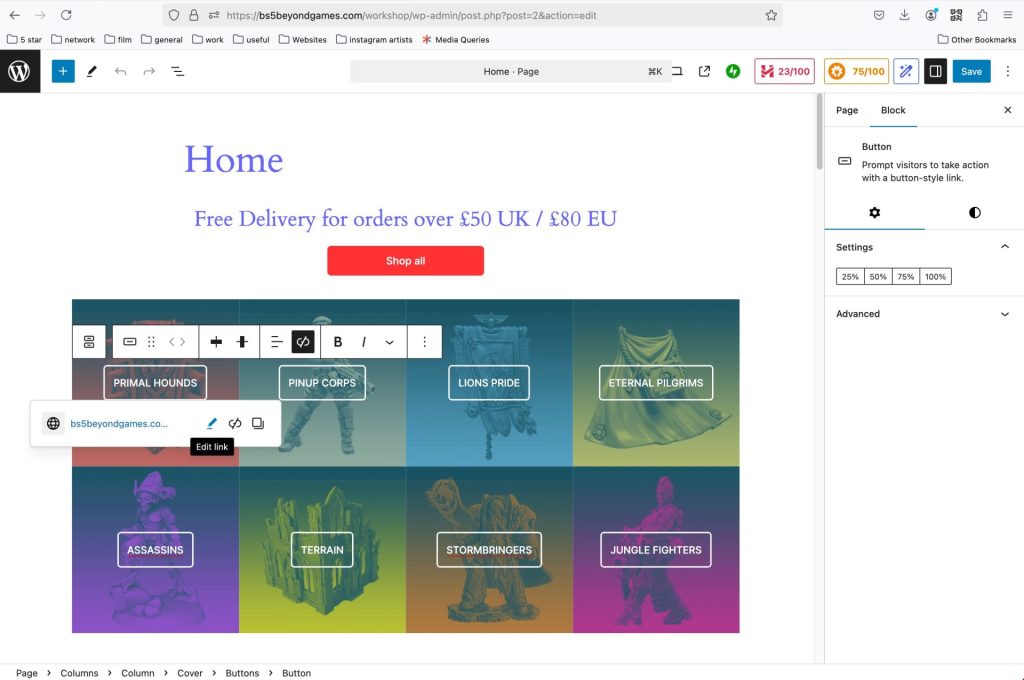
The link block here has three options, edit link, remove link or copy link.
Every block also has options on the right hand side [where it has the Page and Block tabs]. You can click through these too as they offer further tweaking possibilities.
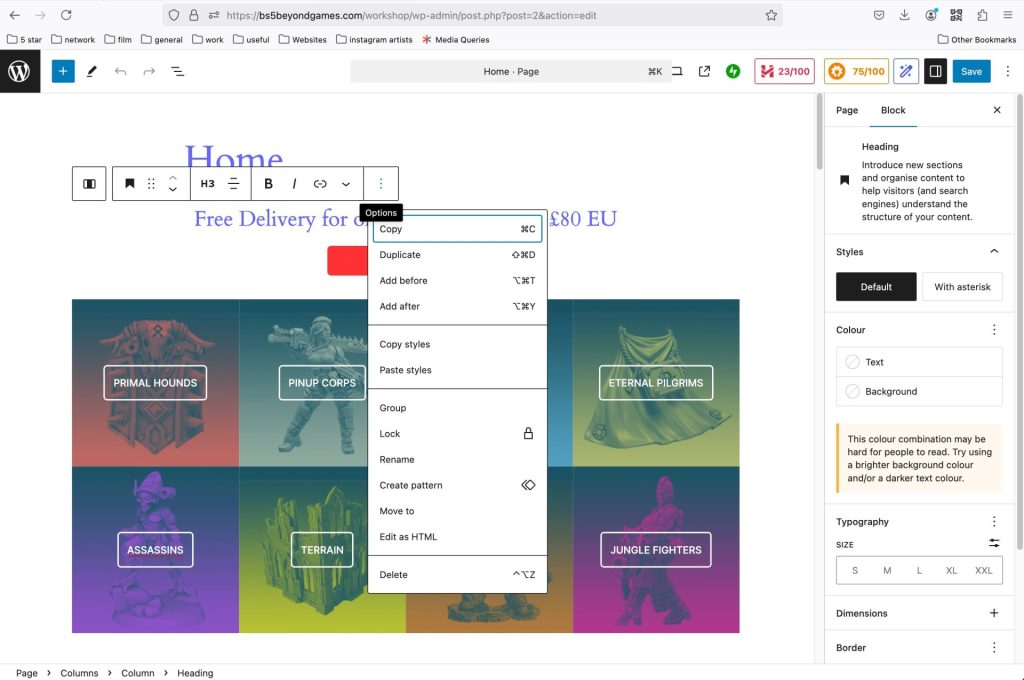
The block selected here is a Heading block and the options on offer relate to each specific block, so in this case they are formatting and layout options.
Every block has a standard options list on its right, offering overall options, like copy and duplicate. Of particular interest are the ‘Add before’ and ‘Add after’ ones, which will place a space either befiore or after the block for a new block.
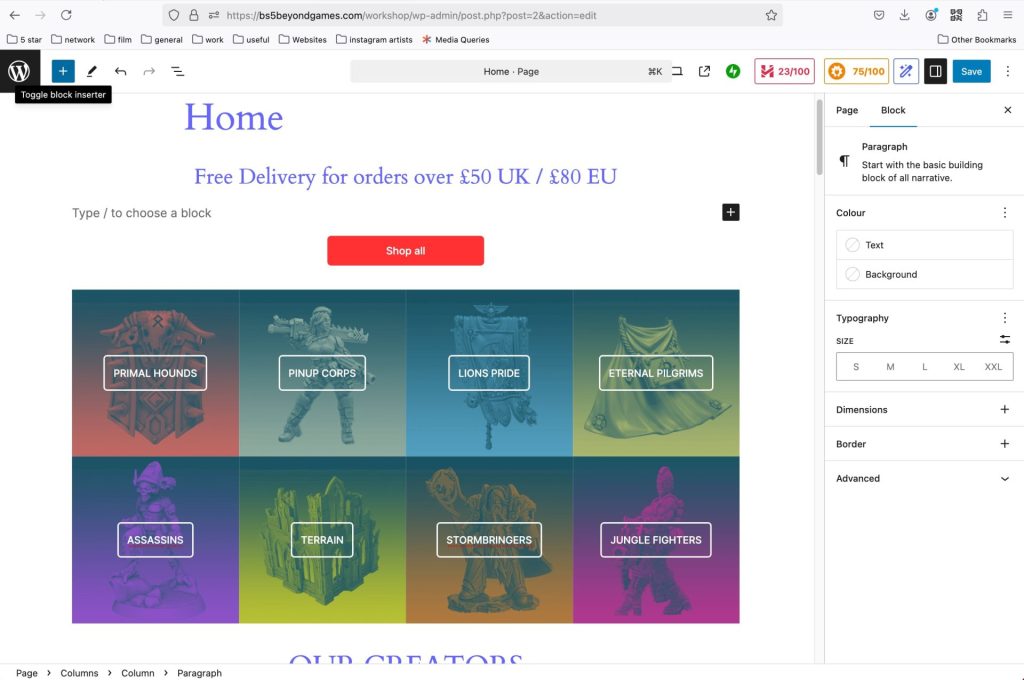
Here is a new block placed under the Heading block. If you start typing it will automatically turn into a paragraph block, but if you click on the blue plus [+] sign at the top of the page you’ll be presented with all the possible blocks at your disposal.
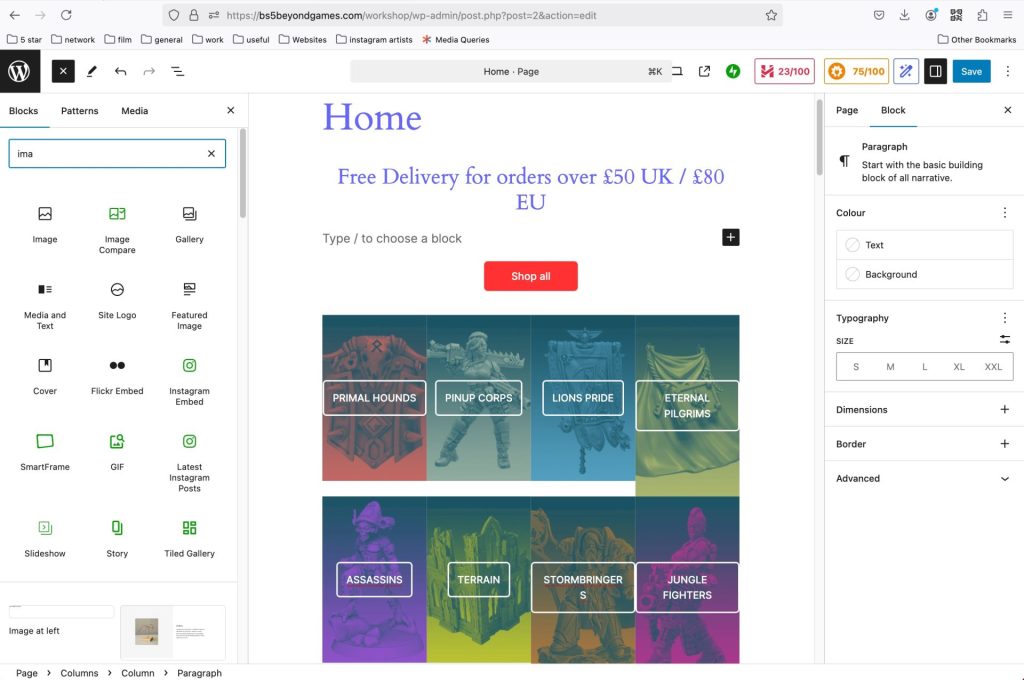
If you can’t see what you want at the top, or can’t be bothered to scroll through all the blocks [like me] just start typing what you’re after and a selection of possibilities will appear. Here I’m typing to find an image block and it doesn’t take long for it to turn up.
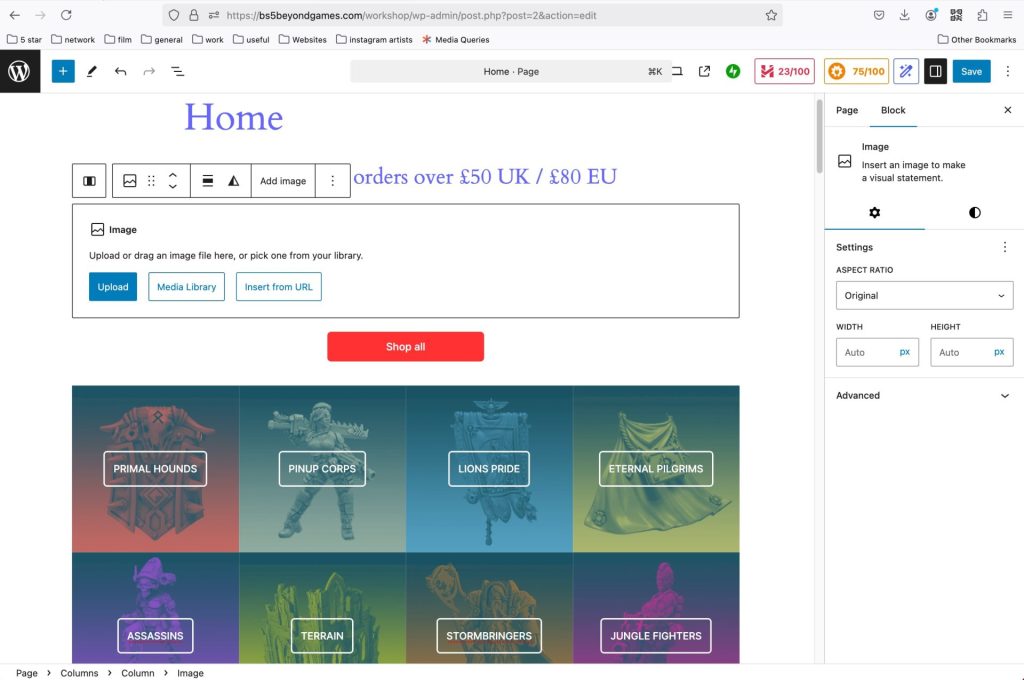
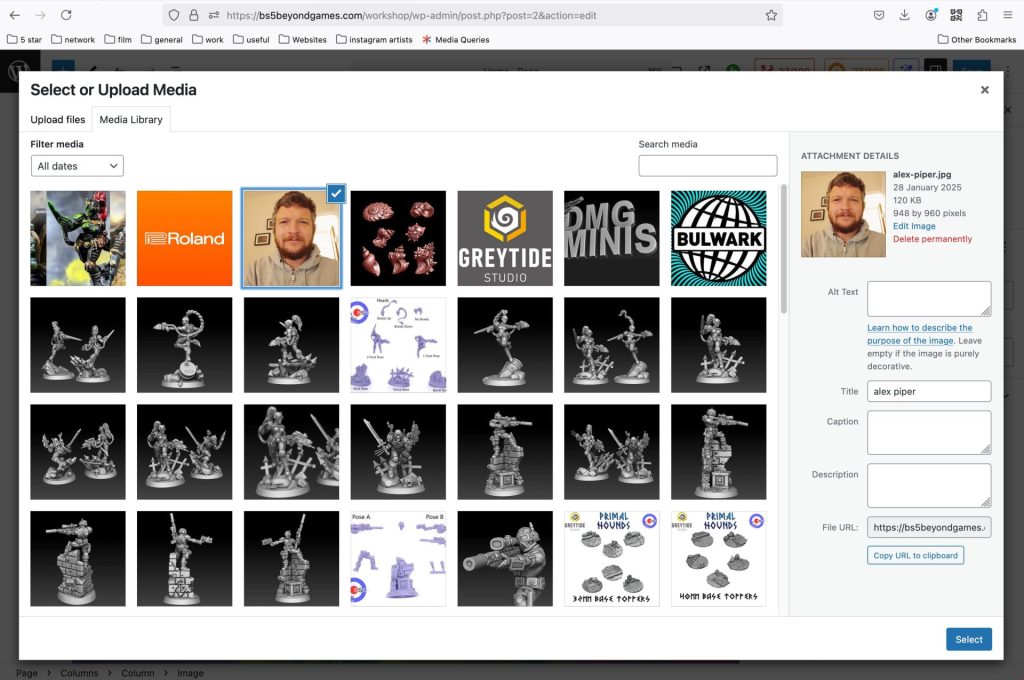
Now I have the option of uploading a new image, looking through the Media Library of already uploaded images, or inserting a URL of an image on the internet.
I’ve elected to use an image from the Media Library. You can either scroll through all our images, or use the Search media bar. You can see here that the Title of the image selected is ‘alex piper’ so I could’ve searched for that. It’s a good idea to name your images properly so you can find them properly. Another option is to insert a searchable phrase in the Alt text field when you’re uploading an image. It’ll save a lot of time later!
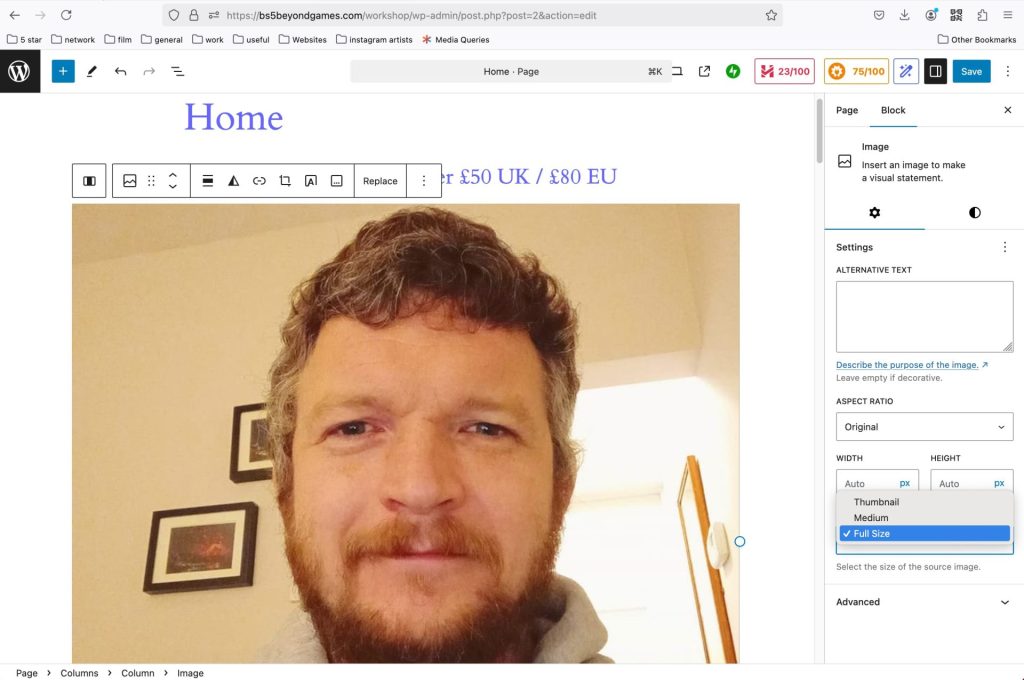
Now I’ve selected my image [cute] there are layout options on the right, like image size, as well as the usual block-relevant options in the bar at the top of the block.
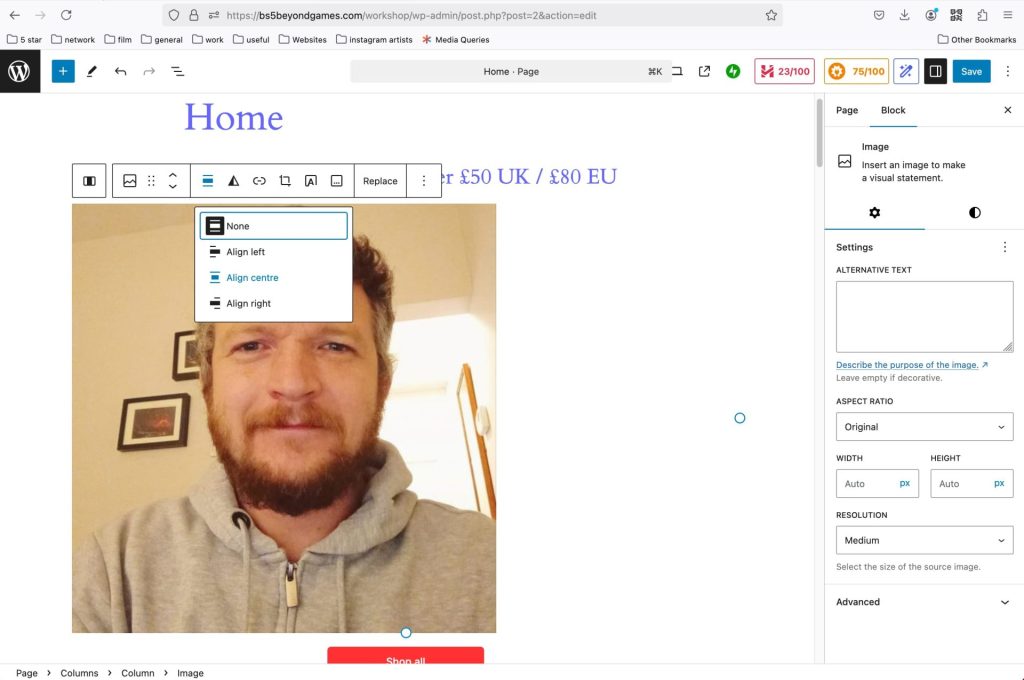
Of particular interest here is the alignment option, plus there’s a cool duotone option, which I used for the Factions and Creators blocks on the homepage.
If you’re unsure about creating a new page you can always use the ‘Copy’ option found in the Pages list and then make your changes to that page. Be sure to rename the Title and Permalink [see below when copying a product].
Duplicating a page or product
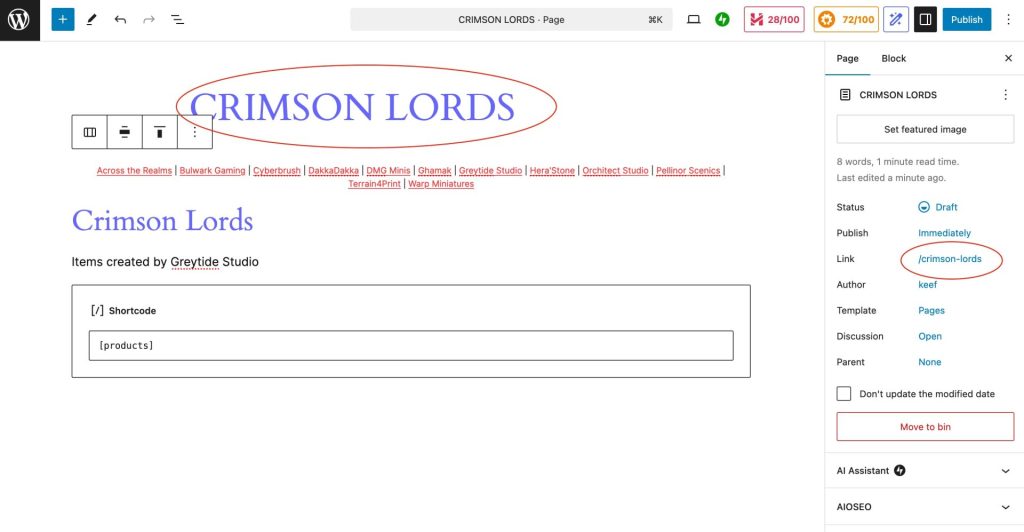
If you want to duplicate a page then do so and simply change the title to AND the link [found in the right hand menu on the page tab] – note all links must be lowercase, hyphenated [no word spaces] and no apostrophes, etc – so Hera’Stone becomes herastone, for example].
When duplicating product, you’ll need to include specific tags. This will allow you to display lists by maker, OR ‘miniature’, or ‘resin’ etc just by changing the end tag in the connecting link.
For example, https://bs5beyondgames.com/workshop/greytide-studio/?product_tag_0=miniature will display all miniature products on the Greytide Studio page.
Products
Adding a new product, or editing products is pretty much the same as editing pages except there are extra parameters to consider.
You start at the All Products list to edit or duplicate a product, or Add new product if you’re feeling brave.
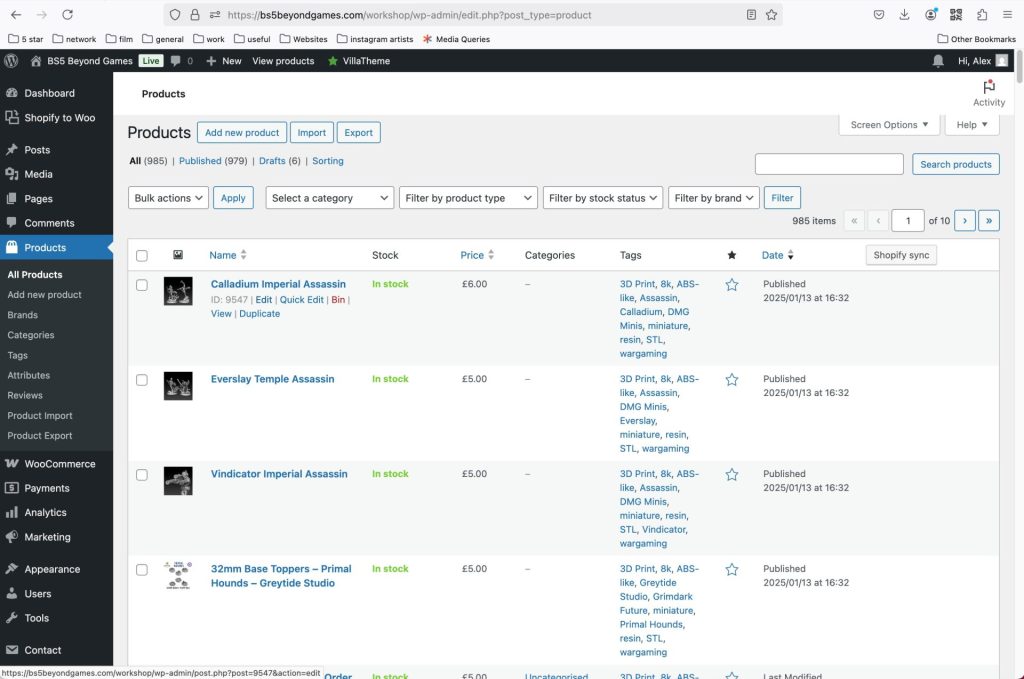
Here we’re looking at adding a new product and you start by selecting that option from the menu on the left.
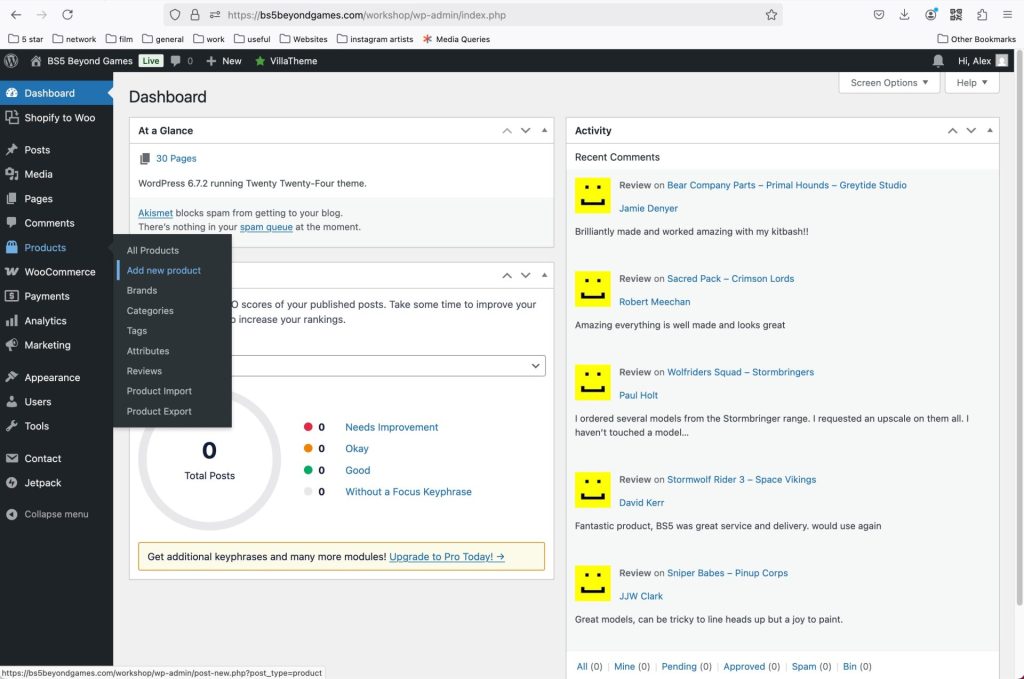
You add the product title and description, add a product image, along with product gallery images if you have them, along with the tags for that item. The tags are very important.
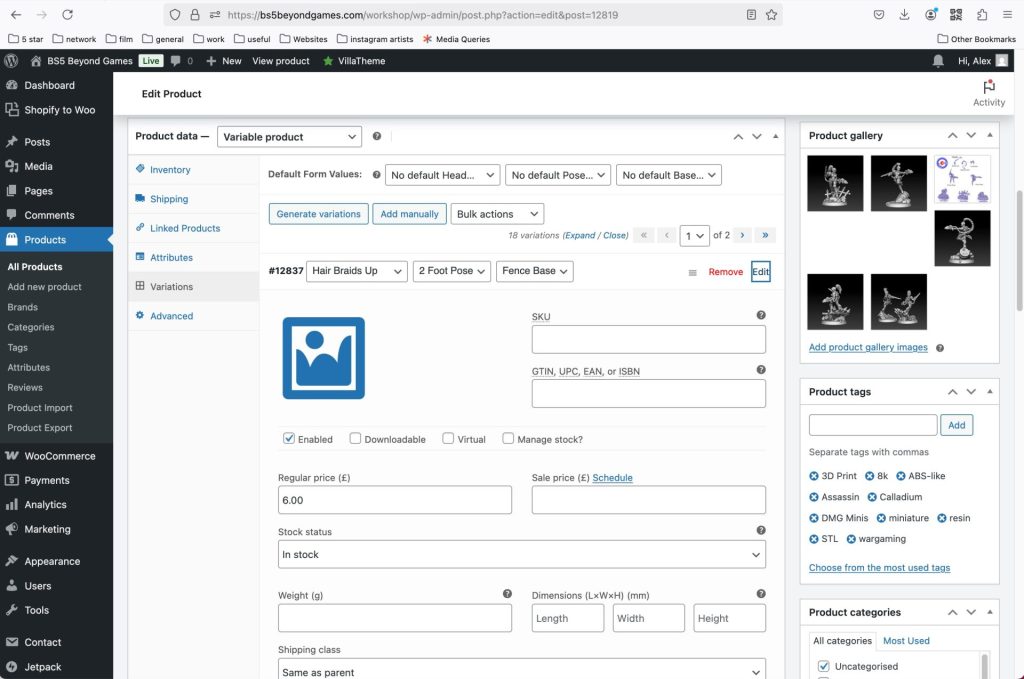
Things get interesting when it comes to the Product data under the description. This is where the nitty gritty info is stored and the first thing to decide is, is it a Simple product or a Variable product? Simple products have no variations, while a Variable product has different elements for the customer to select.
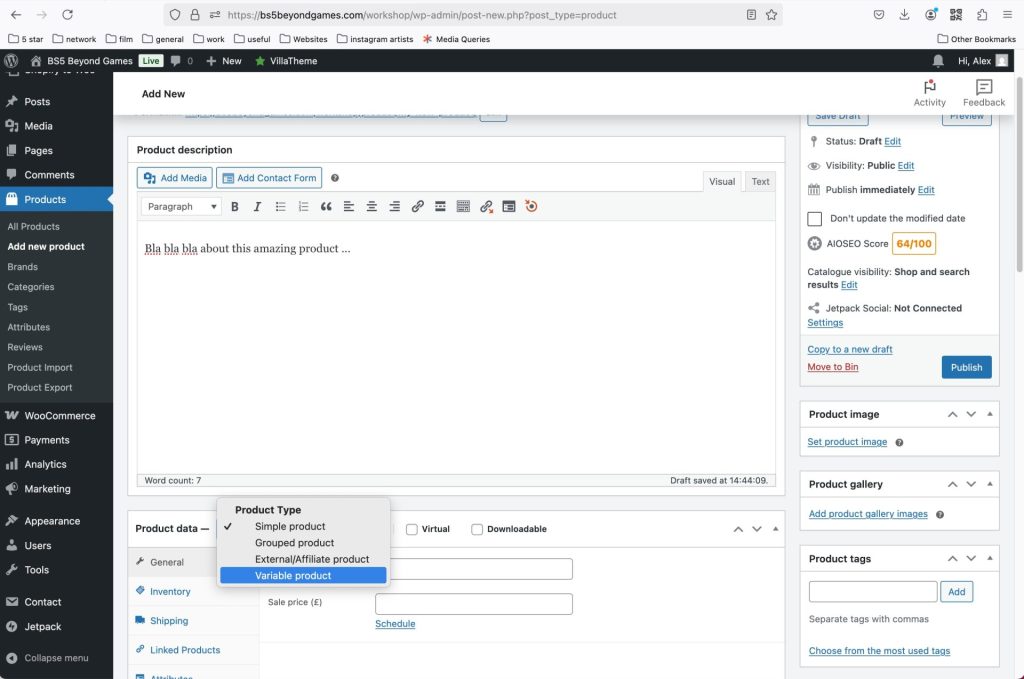
These are called Attributes and can be things like length or weight, or in your instance Head, Pose and Base selection.
At the early stage in your education we’ll switch over to duplicating products, as this allows you to see the type of variations you actually use…
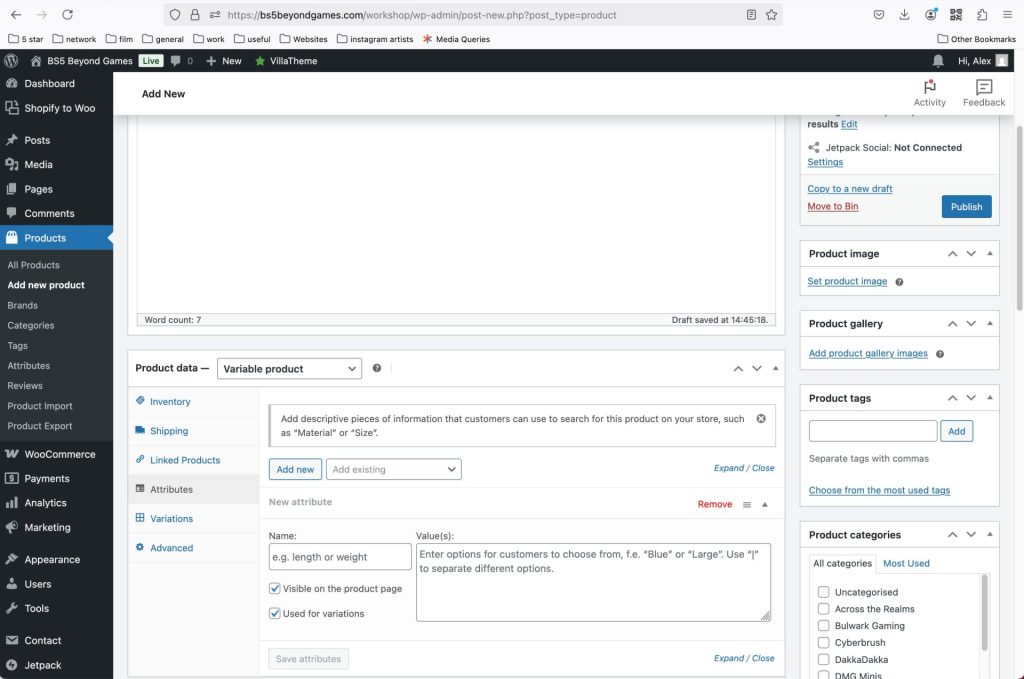
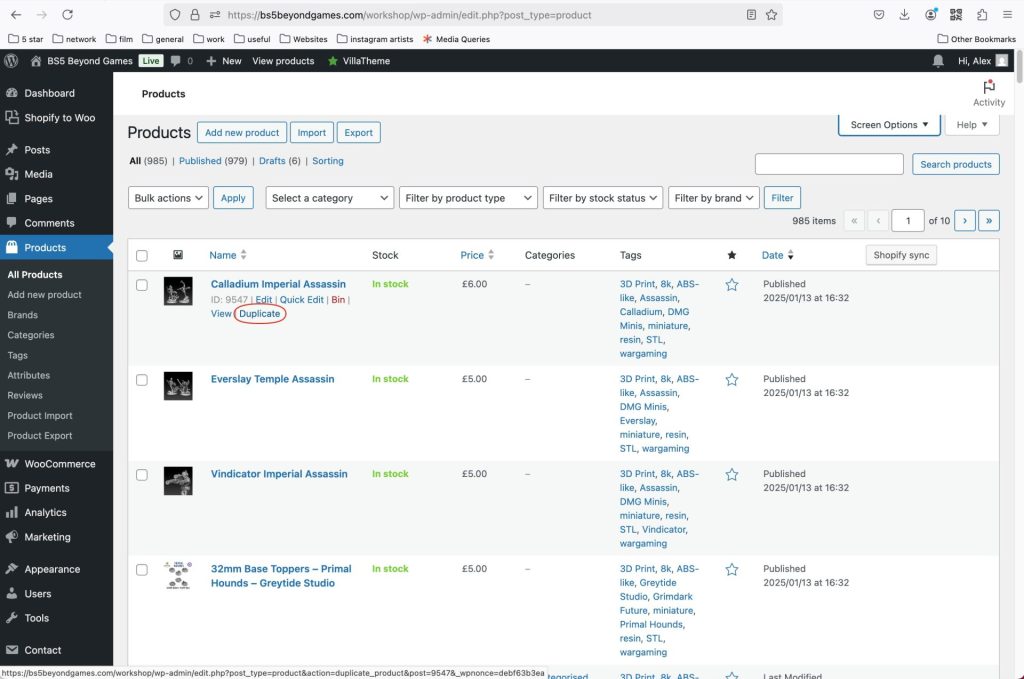
…So now we’re back at the Products list and in this instance we’ll duplicate the Calladium Imperial Assassin product and go from there.
At this point be aware that you should choose to duplicate a product with the same or similar variations to the one you wish to add.
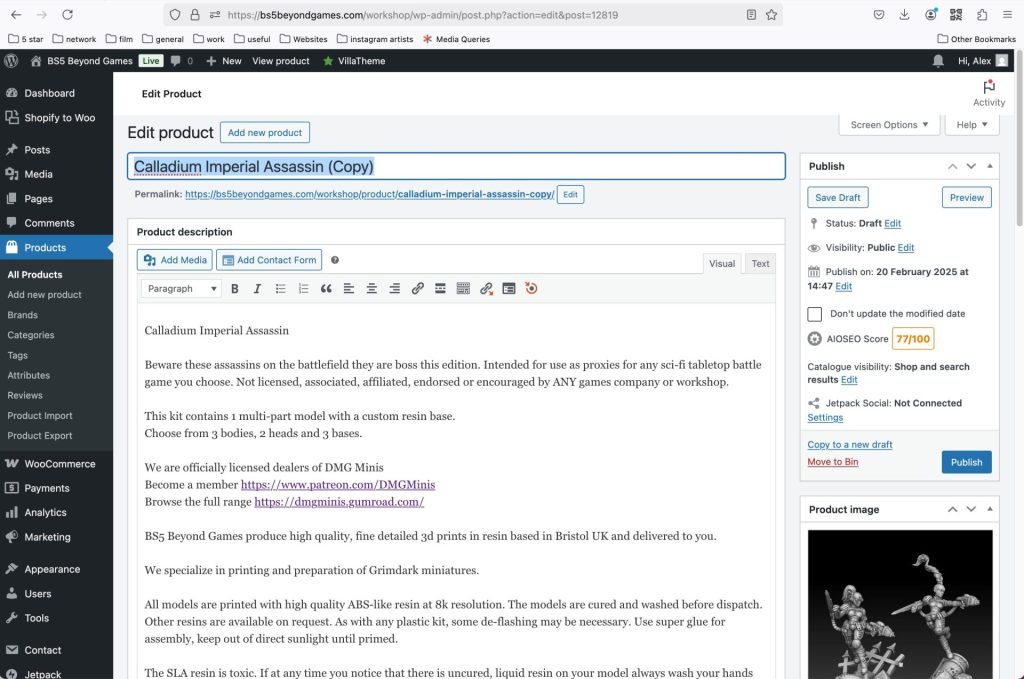
The first thing to change is the product title, so highlight it and enter the new title in the top field.
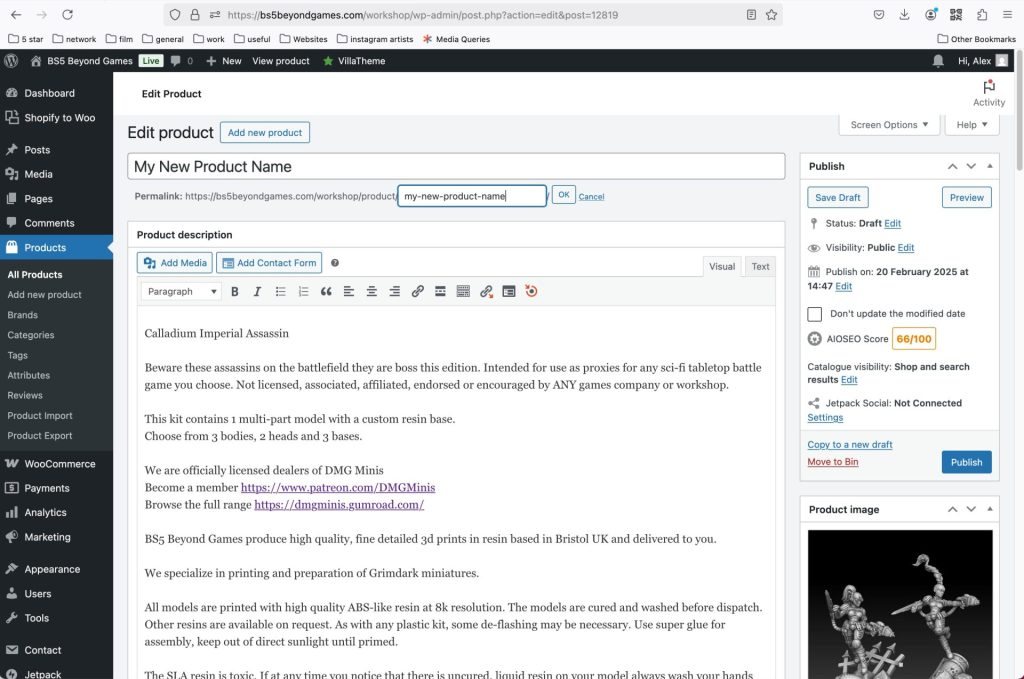
A crucial thing to do here is to change the permalink as well. The permalink is the web URL linking to the product. Typically it’s the same as the title, only there are NO capital letters and hyphens replace the word spaces.
Edit the description, image, gallery and adjust the tags as well.
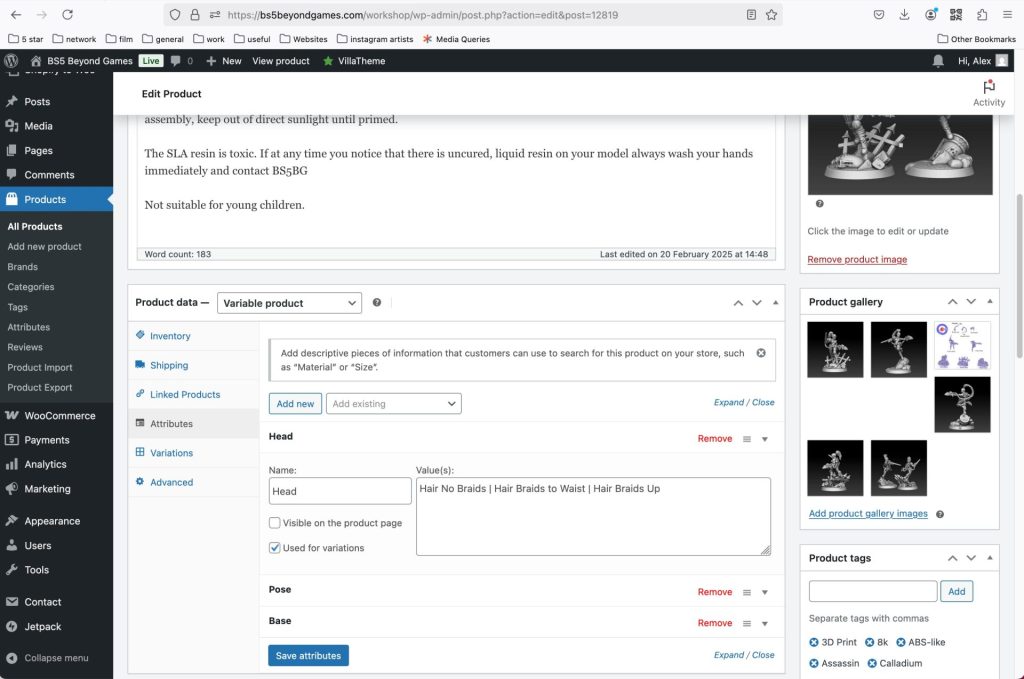
Now head down to the Product data and adjust the Inventory if you’re going to use that. Shipping class is typically sorted by the customer’s address. You may wish to start linking products to this one?
The main point of reference here are its Attributes, so open them up and see if any need adjusting. Hopefully not if you chose your initial product well, but your models vary considerably. Remember to click on the ‘Save attributes’ button when done.
Next check the variations. You may need to hit the ‘Generate variations’ button, or simply amend the options or price. You’ll need one variation for every variation type, which can be a bit of a ballsache, hence doing a wise duplication can speed the whole process up.
When done remember to update the product to save it and check it online to ensure there are no mistakes. It’s a good idea to preview it before publishing.
Shopify Sync
While you’re still hooked up to Shopify you can sync products, customers and orders using the Shopify 2 Woo plugin.
Click on the Shopify 2 Woo menu item and you’ll be taken to the import interface. This has already been configured and is ready to import any new products, customers and orders at Shopify made since the last sync.
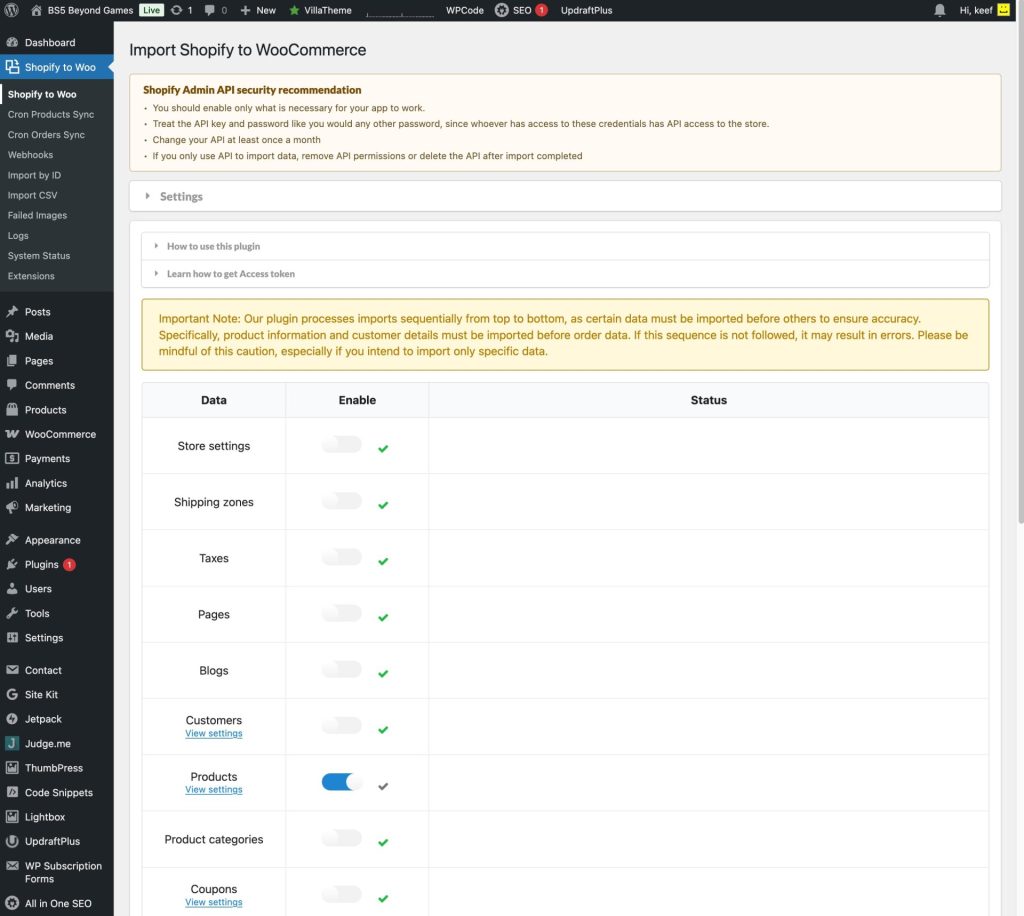
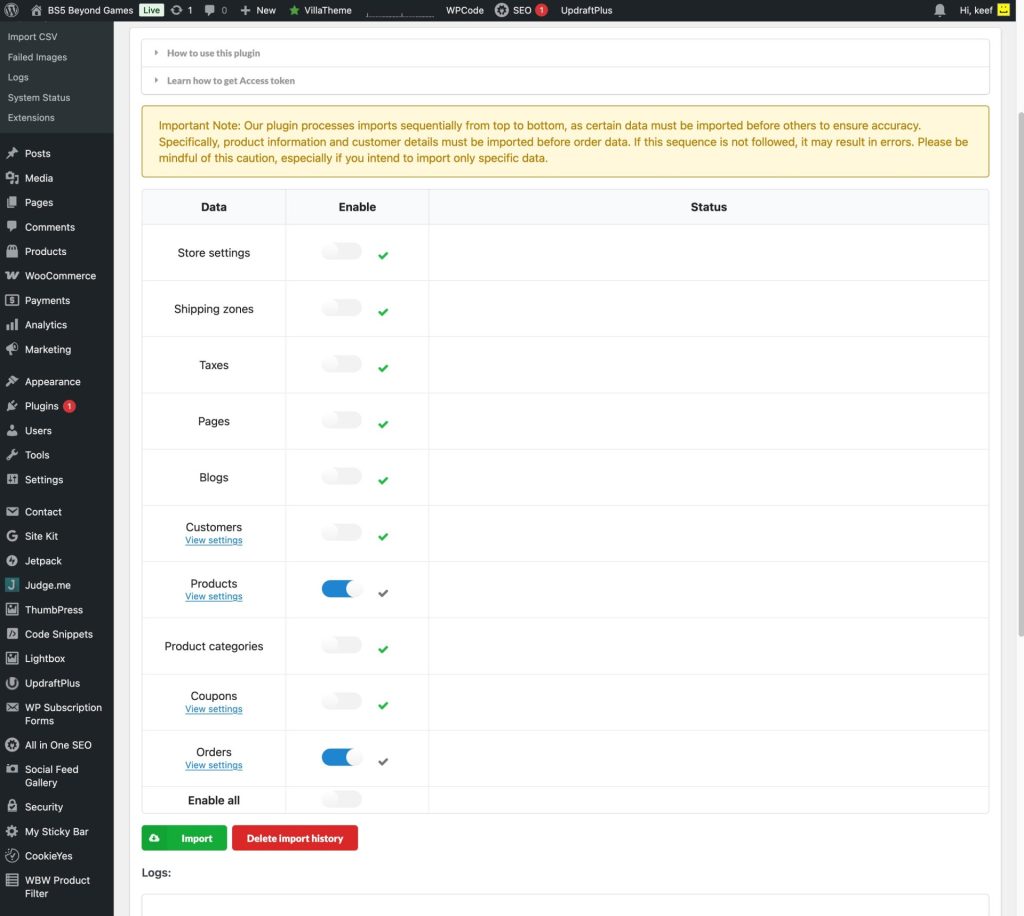
Simply scroll down the page and click on the green Import button. It may take a while to import all the information, especially any new product images, so give it a while before jumping in anywhere else.
Back to
Pages | Products | Duplicating a page or product | Shopify Sync